The moment the tile comes up
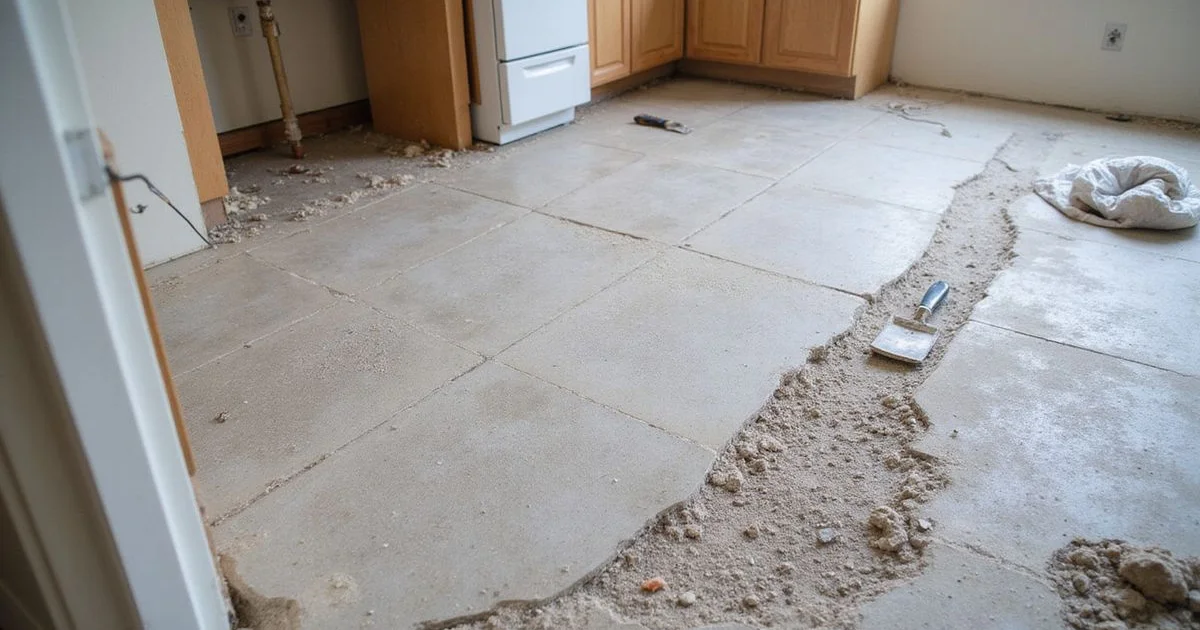
You have pulled up forty-year-old tile, the dumpster has gone, and you are standing in an empty room looking at a slab nobody has seen since the house was built. This is the most common starting point for residential polishing work in Austin, and it is where expectations need to be set honestly.
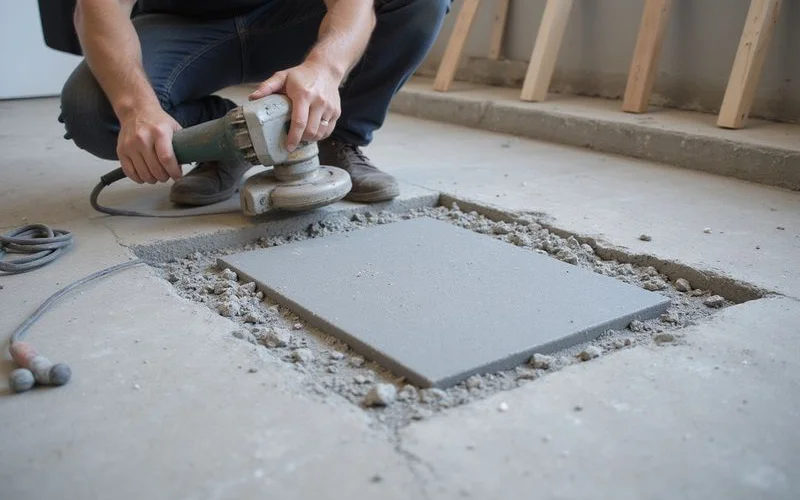
The short version: most of these slabs can be polished. What they will look like afterwards varies a great deal, and the only reliable way to find out is to grind a piece of your own floor. The broader assessment process is covered on our residential polished concrete page.
What you are likely to find
Thinset ghosting. Tile is bedded in mortar, and where it bonded hardest the adhesive penetrates the surface. After grinding you may still see a faint grid pattern following the old tile layout. It fades with depth of cut, which means it interacts directly with your exposure choice.
Tack holes. Carpet tack strips were nailed down, usually around every room’s perimeter. Each nail leaves a small hole that is filled individually during preparation.
Adhesive across the field. Glued-down carpet, vinyl, or engineered timber leaves adhesive across the whole floor rather than just at the edges. It grinds off mechanically, which is slower than chemical stripping but leaves sound concrete instead of solvent residue.
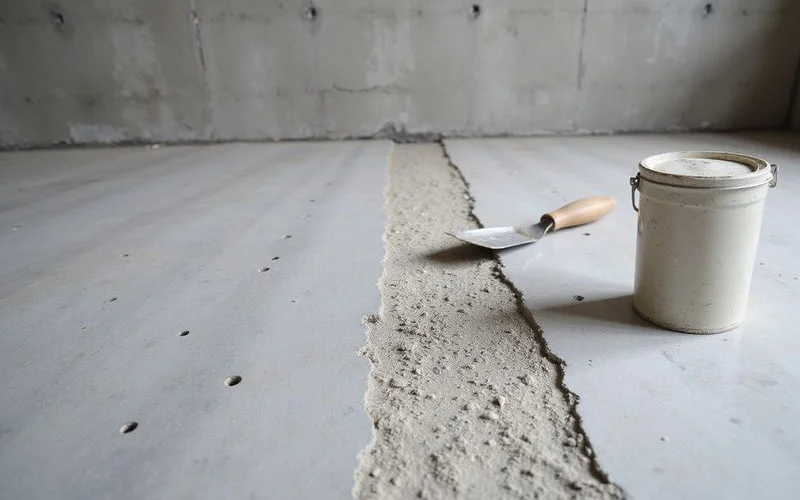
Trench lines and patches. Plumbing or electrical work cut into the slab at some point, and the channel was filled with a different mix. It will polish, and it will read as a distinct band.
Level changes. Room additions, closed-in patios, and converted garages often sit at a slightly different level or were poured with a different mix. Both show.
How exposure interacts with adhesive removal
This is the key technical point, and it catches people out.
To erase every trace of adhesive you may have to cut deeper than the finish you chose. Going deeper pushes a cream finish toward salt-and-pepper, and salt-and-pepper toward heavier aggregate exposure. So there is a trade-off: a cleaner-looking floor with more exposed stone, or your original exposure with some ghosting retained.
Neither answer is wrong. What matters is making the choice deliberately, with a ground test area in front of you rather than after the fact.
Repairs, and what they look like afterwards
| Feature | Treatment | Appearance after polishing |
|---|---|---|
| Tack holes | Filled individually | Small dots, visible close up |
| Thinset ghosting | Ground out as far as exposure allows | Faint grid may remain |
| Trench lines | Cleaned and filled | Visible band of different tone |
| Cracks | Opened, cleaned, filled, ground flush | Visible line, deliberate rather than neglected |
| Spalls and chips | Patched | Patch reads differently from the slab |
| Old paint or sealer | Ground off | Usually removed cleanly |
The mindset that makes remodel floors work
Salt-and-pepper exposure is the remodeler’s friend. A consistent fine texture across the whole floor gives the eye something to read other than the slab’s history. Cream demands a slab that never had one.
When a microtopping or overlay is the better answer
If the test area shows a slab that is too patched, too variable, or too damaged to produce a floor you would enjoy, a polishable overlay resurfaces it with a uniform cementitious wear layer, which is then ground and polished.
What you gain is consistency. What you give up is the original slab’s character, plus a small increase in floor height that needs planning around doors and thresholds. Full detail is in our polishable overlays guide, and the general suitability assessment is in can existing concrete be polished. Either way, how much stone the finished floor shows is set by the aggregate exposure you specify.
Fitting polishing into the renovation sequence
Timing is the part remodelers most often get wrong, and it is easy to get right.
Polish after the messy trades, before the finishing ones. Framing changes, plumbing, electrical, and drywall all belong before the floor is polished. Cabinetry, trim, and painting are better after — with protection down.
Decide baseboards early. If polishing happens before trim goes on, the floor can run cleanly to the wall and the trim sits on top. If trim is already installed, edge work has to stop against it, which is achievable but less forgiving.
Keep cabinetry out until the floor is done where the plan allows. Polishing around an installed island means hand and edge work in a confined space, which costs more and rarely looks as good as an uninterrupted floor.
Plan for protection afterwards. A newly polished floor with four more trades to come needs covering, and it needs a protective material that leaves no adhesive residue.
Sequence rooms if you are living there. Most remodel projects can be phased so part of the house stays usable, provided access routes are agreed in advance.
A practical sequence for remodelers
- Remove the existing floor covering and tack strips completely.
- Get the bare slab assessed before committing to a finish.
- Ask for a ground test area at the exposure you are considering.
- Decide exposure knowing how it interacts with adhesive removal.
- Agree the repair approach for cracks, trenches, and tack holes.
- Confirm the finish in writing, with exclusions stated.
- Sequence the polishing around the rest of the renovation.
Send photos of the uncovered slab along with the room’s approximate area and an estimator will give you a realistic read within 24 business hours — including when the honest answer is that this particular slab needs an overlay.