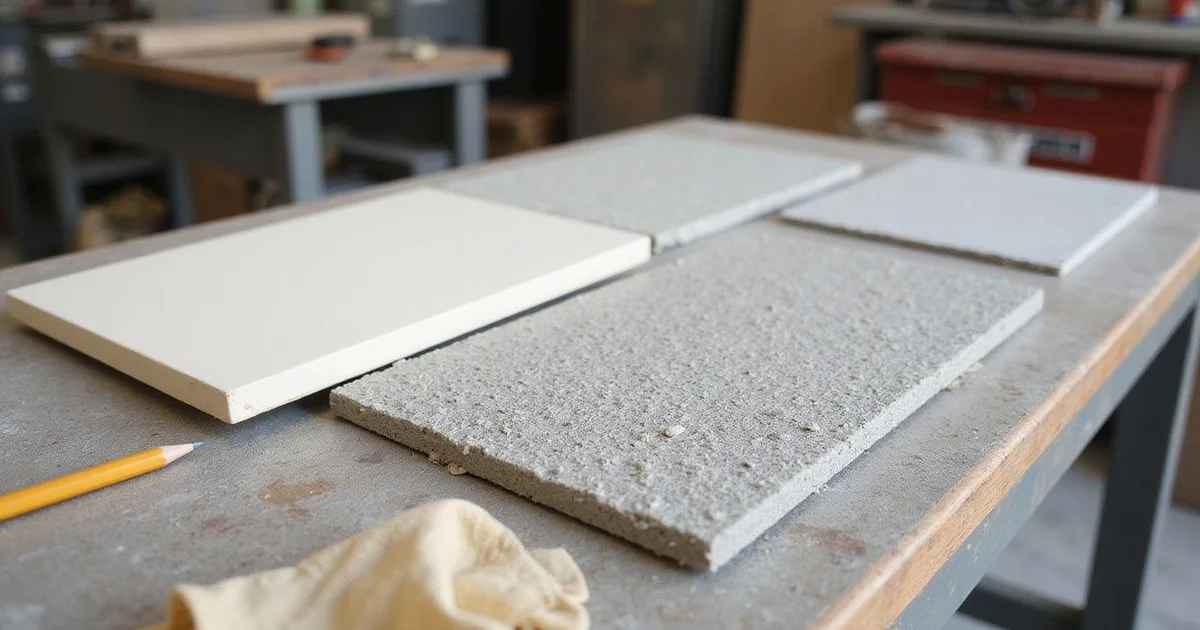
Exposure is the first decision, and it is irreversible
Of the two appearance decisions in a polished floor, exposure is the one that cannot be undone. It is set by how deep the first grinding passes cut, and once the slab is cut you cannot uncut it. Sheen, decided later, is comparatively flexible.
That asymmetry is why we spend more time on exposure than on anything else during a residential specification — see our residential polished concrete page for how this fits the wider process.
The exposure classes
The industry, following Concrete Polishing Council conventions, describes exposure in bands rather than exact measurements, because concrete does not deliver exact measurements.
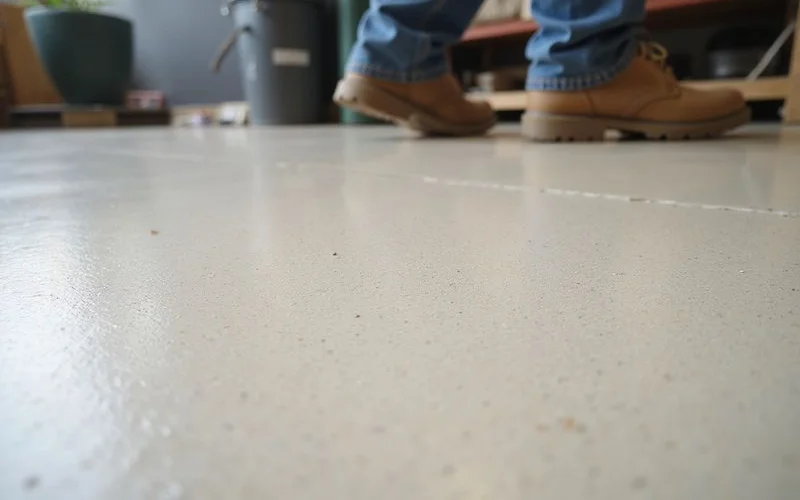
Class A — Cream. Little to no aggregate. You are polishing the cement paste at the very top of the slab. Reads as a soft, monolithic surface.
Class B — Fine (salt-and-pepper). A shallow cut revealing sand and the smallest aggregate as a fine, even scatter. The most widely specified class in residential work.
Class C — Medium. A deeper cut showing a mix of fine aggregate and some larger stone. A middle ground with more visual movement than salt-and-pepper.
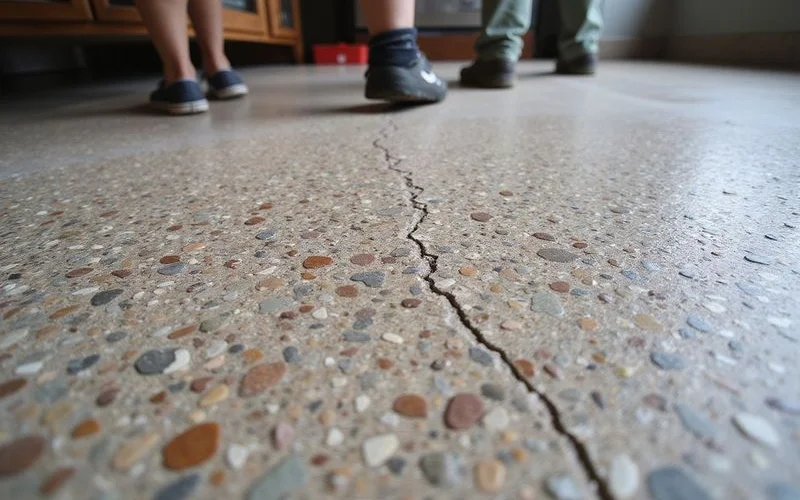
Class D — Large (heavy exposure). A deep cut revealing substantial stone in cross-section. Dramatic, dependent entirely on the aggregate available in your slab.
How depth maps to appearance
| Class | Typical cut | What you see | Slab requirement |
|---|---|---|---|
| Cream | Minimal | Smooth paste, almost no stone | Flat, well-finished, consistent pour |
| Fine | Shallow | Even sand and small aggregate | Most sound slabs qualify |
| Medium | Moderate | Mixed sizes, visible movement | Reasonable aggregate distribution |
| Large | Deep | Prominent stone cross-sections | Suitable aggregate near the surface |
Why the slab, not the contractor, sets the ceiling
A structural slab is poured for strength. Aggregate settles where it settles, influenced by mix design, placement method, vibration, and finishing. Nobody positioned that stone for appearance.
This has two consequences. First, deep exposure may simply not be available in your slab, and cutting further to chase it eventually reaches reinforcement depth, which is not a sensible place to go. Second, even when exposure is achievable, the distribution may be less even than a showroom sample — because the showroom sample was probably made for the purpose.
On new construction you can influence this by specifying the mix before the pour. On an existing slab you find out by grinding.
Grit numbers do not specify exposure
Exposure is set by the first cutting passes with metal-bond tooling; sheen is set by the later resin-bond passes. A quote that says “polished to 1500 grit” has described the second decision and skipped the first entirely.
Exposure and sheen, decided separately
Any exposure class can be finished to any sheen level. A matte large-aggregate floor and a high-gloss cream floor are both entirely normal specifications.
Practically, exposure tends to influence how forgiving the floor is day to day. More visible texture gives the eye more to read, which disguises dust, minor scratching, and slab variation. Cream is the least forgiving finish in a busy household, regardless of sheen. The sheen side of the decision is covered in our finishes guide. If you are specifying a floor into a new pour, exposure is decided far earlier — see planning polished concrete for new construction.
Consistency across a floor
One more variable worth knowing about: exposure consistency. Even within a single pour, the depth at which aggregate appears varies slightly. Over a large area a single cutting depth can produce more stone in one zone than another.
A skilled operator manages this, but perfect uniformity is not a property concrete has. Where uniformity is the priority — a commercial space with a designed look, or a client who dislikes variation — a polishable overlay produces a far more consistent surface by design.
Exposure and light
The same exposure class reads differently depending on the room, which catches people out when they choose from a sample held in a showroom or a garage.
Directional daylight from a window or a glazed frontage rakes across a floor and accentuates texture. In that light, salt-and-pepper exposure reads as busier than it will under even overhead lighting, and cream reads flatter and calmer.
Artificial lighting flattens texture. A floor selected under strong ceiling lights can look noticeably more active once daylight reaches it at a low angle in the morning or late afternoon.
The practical instruction: look at your test area in the room it belongs to, at the times of day you actually use that room. Photograph it, then look again the next day. First impressions of a floor sample are notoriously unreliable.
Writing exposure into a contract
Once decided, the exposure class belongs in the written scope in words, not just in conversation. What should be recorded:
- The exposure class agreed, described plainly (cream / fine / medium / large)
- That appearance is judged against an approved sample or mockup, and where that sample is kept
- Acknowledgement that natural variation across the floor is expected
- What happens if the slab does not deliver the agreed class once cutting begins
That last point is the useful one. Occasionally a slab will not produce the exposure a small test area suggested, because aggregate distribution changes across the floor. Agreeing in advance how that will be handled — adjust the class, or accept variation — saves a difficult conversation later.
How to choose with confidence
- Look at samples to understand the four classes.
- Have a test area ground on your own slab at your preferred class.
- Look at it under your room’s own light, at the time of day you use the room.
- Consider how forgiving you need the floor to be day to day.
- Confirm the class in writing, with mockup approval before full production.
Bring photos and approximate floor area and an estimator will tell you which classes are realistically available in your concrete before you commit to a look.