The finish is decided before the pour
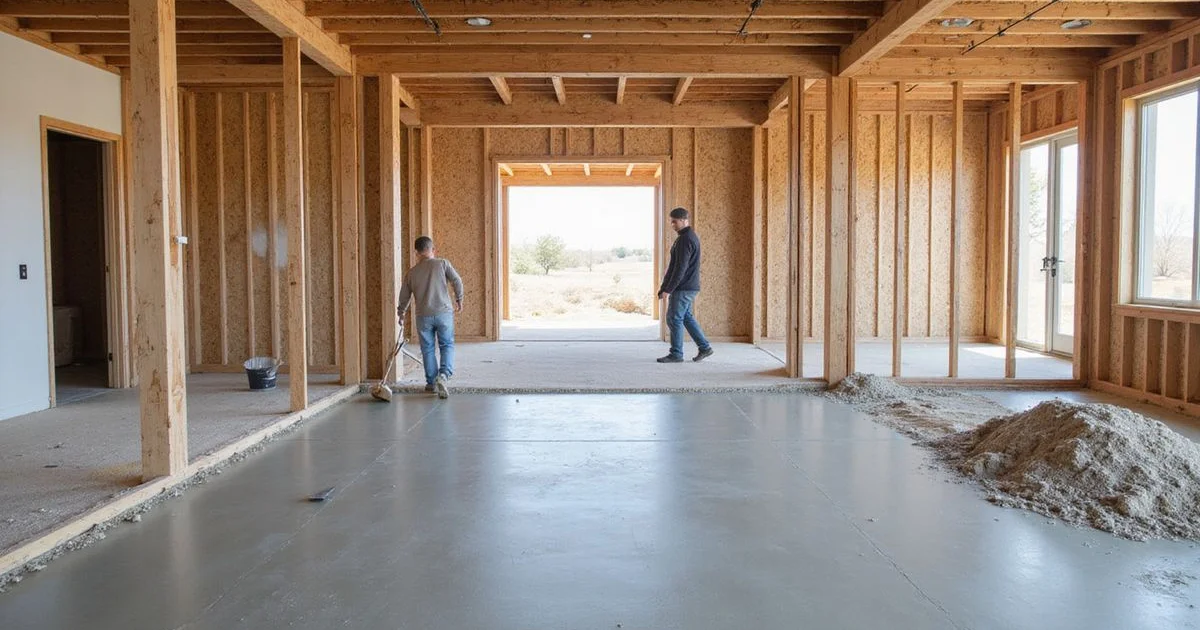
If you are building and you want a polished floor, the most valuable thing you can do is talk to a polishing contractor before the concrete is ordered. Almost every factor that sets the ceiling on your result is determined at the slab stage — and a polishing contractor arriving after the fact can only reveal what the slab already is.
That is the core difference between new construction and the remodel work described on our residential polished concrete page. On a remodel you discover the slab. On a new build you specify it.
What to specify before the concrete is ordered
Mix design and aggregate. If exposed aggregate is the goal, the aggregate type, size, and distribution matter, and the supplier needs to know the slab is a finished floor. Standard structural mixes are not designed with appearance in mind.
Flatness. A flatter pour needs less grinding to reach an even plane and produces a far more consistent cream finish. Agree a flatness expectation with the builder and the finishing crew rather than hoping for the best.
Finishing technique. Over-trowelling can create a hard, closed surface that behaves unpredictably under diamond tooling, and burnish marks can show through a shallow cut. The finishing crew should know a polished finish is planned.
Curing. Consistent curing produces consistent surface strength. Patchy curing produces patchy results, sometimes invisible until the first grinding pass.
Placement sequencing. Cold joints and pour breaks can leave visible tonal lines. Where a floor must read as one surface, that needs planning.
Coordination through the build
| Stage | Decision | Who owns it |
|---|---|---|
| Design | Exposure and sheen target | Owner + polishing contractor |
| Pre-pour | Mix, aggregate, flatness | Builder + supplier |
| Pour | Finishing technique, curing | Builder + finishing crew |
| Post-cure | Protection installed | Builder, named trade |
| Mid-build | Sample or mockup approved | Owner + polishing contractor |
| Late build | Polishing window | Builder’s programme |
| Handover | Protection through fit-out | Builder |
Protection is where most quality is lost
A slab sitting through framing, drywall, plumbing, and painting takes a beating. We regularly assess new-build floors carrying impact chips from dropped tools, paint and adhesive splatter, rust marks from steel left overnight, and taped protection that pulled at the surface when removed.
Some of that grinds out. Deep impact damage and certain stains reach further into the slab than your agreed exposure level, which means either cutting deeper than planned — changing the finish — or accepting the mark.
The question to put to your builder
“Who owns slab protection between the pour and the polishing date, and what covering are they using?” If it is nobody’s named job, it will not happen reliably.
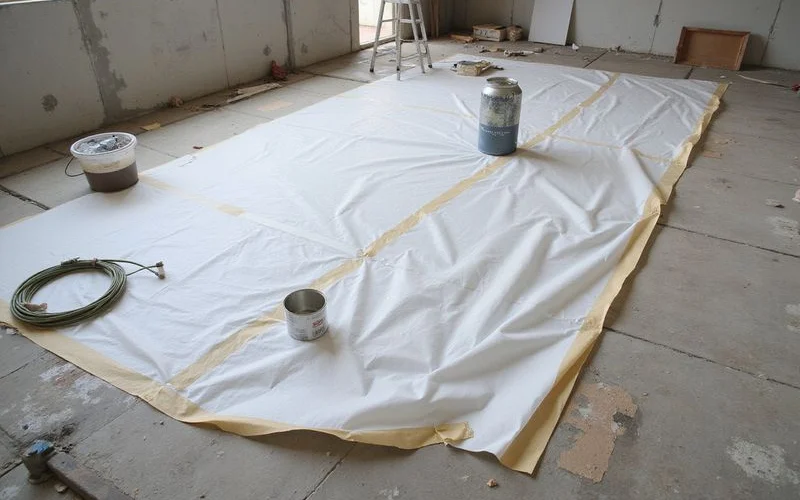
Specify a protective covering that does not leave adhesive residue, keep it down until polishing, and re-protect afterwards if trades still have work to do.
Timing the polishing window
A new slab typically needs around 28 days before densification and high-sheen polishing. We confirm readiness on site rather than assuming the calendar has done the work.
The scheduling tension is real: polish early and the floor has to survive everything that follows; polish late and you compress the programme at its busiest point. Most builds land on polishing before final fit-out, then protecting through the last stages. Whichever you choose, put it in the programme early so the trade sequence works around it.
Sample approval on your own slab
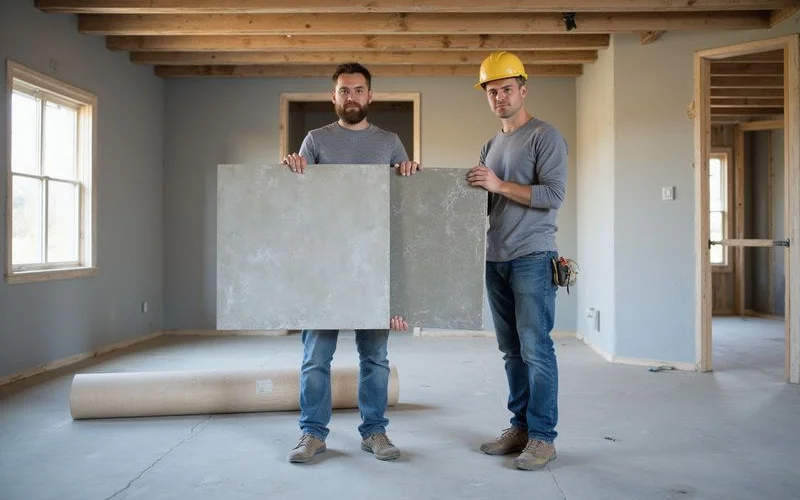
Once the slab has cured, a ground sample area shows the actual aggregate, colour, and how the exposure will read under your building’s own light. This is the moment to confirm or adjust the finish, because you are looking at your concrete rather than at a photograph of someone else’s.
Exposure and sheen are separate decisions — our aggregate exposure guide explains how cutting depth relates to the stone you end up seeing.
The mistakes we see most on new builds
Nobody told the concrete crew. The slab gets poured and finished exactly as a structural slab, because that is what everyone assumed it was. Mix, flatness, and finishing technique all get decided without the finished floor in mind.
Protection arrives late. Covering goes down after framing has started, so the slab has taken its worst damage before anyone thought to protect it.
Taped protection. A covering fixed with the wrong tape leaves adhesive residue around every joint, which then has to be ground off, sometimes deeper than the agreed exposure allows.
Trades using the slab as a workbench. Cutting tiles, mixing compound, and standing steel on the floor all leave marks. Rust staining in particular can reach further into concrete than a shallow cut will remove.
Polishing scheduled with no buffer. Every preceding trade’s delay lands on the flooring window, and the crew arrives on a floor that is not clear.
The sample approved in the wrong light. A mockup reviewed under temporary site lighting looks different once the building’s own glazing and fixtures are in.
None of these are exotic. All of them are cheap to prevent and expensive to fix.
A short pre-pour checklist
- Decide provisionally between cream, salt-and-pepper, and exposed aggregate.
- Tell the builder the slab is the finished floor.
- Agree the mix and aggregate with the supplier in light of that target.
- Set a flatness expectation and confirm who is finishing the pour.
- Write slab protection into the programme with a named owner.
- Book a sample or mockup review once the slab has cured.
- Slot the polishing window into the programme, with protection after it.
Get those right and the polishing itself becomes the predictable part of the project.