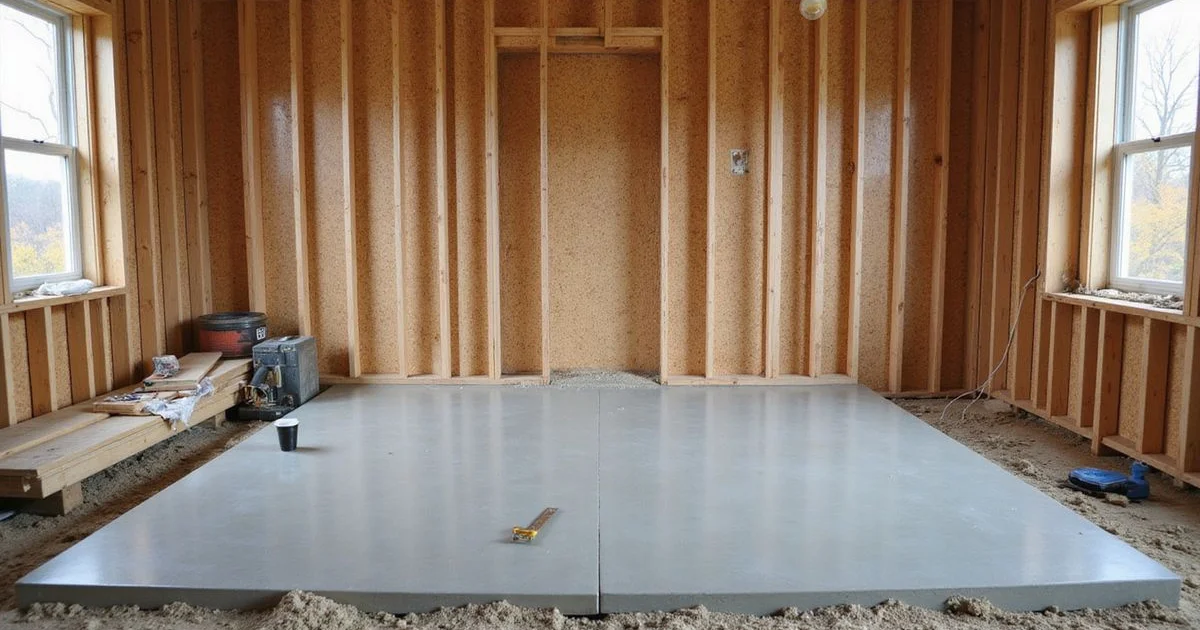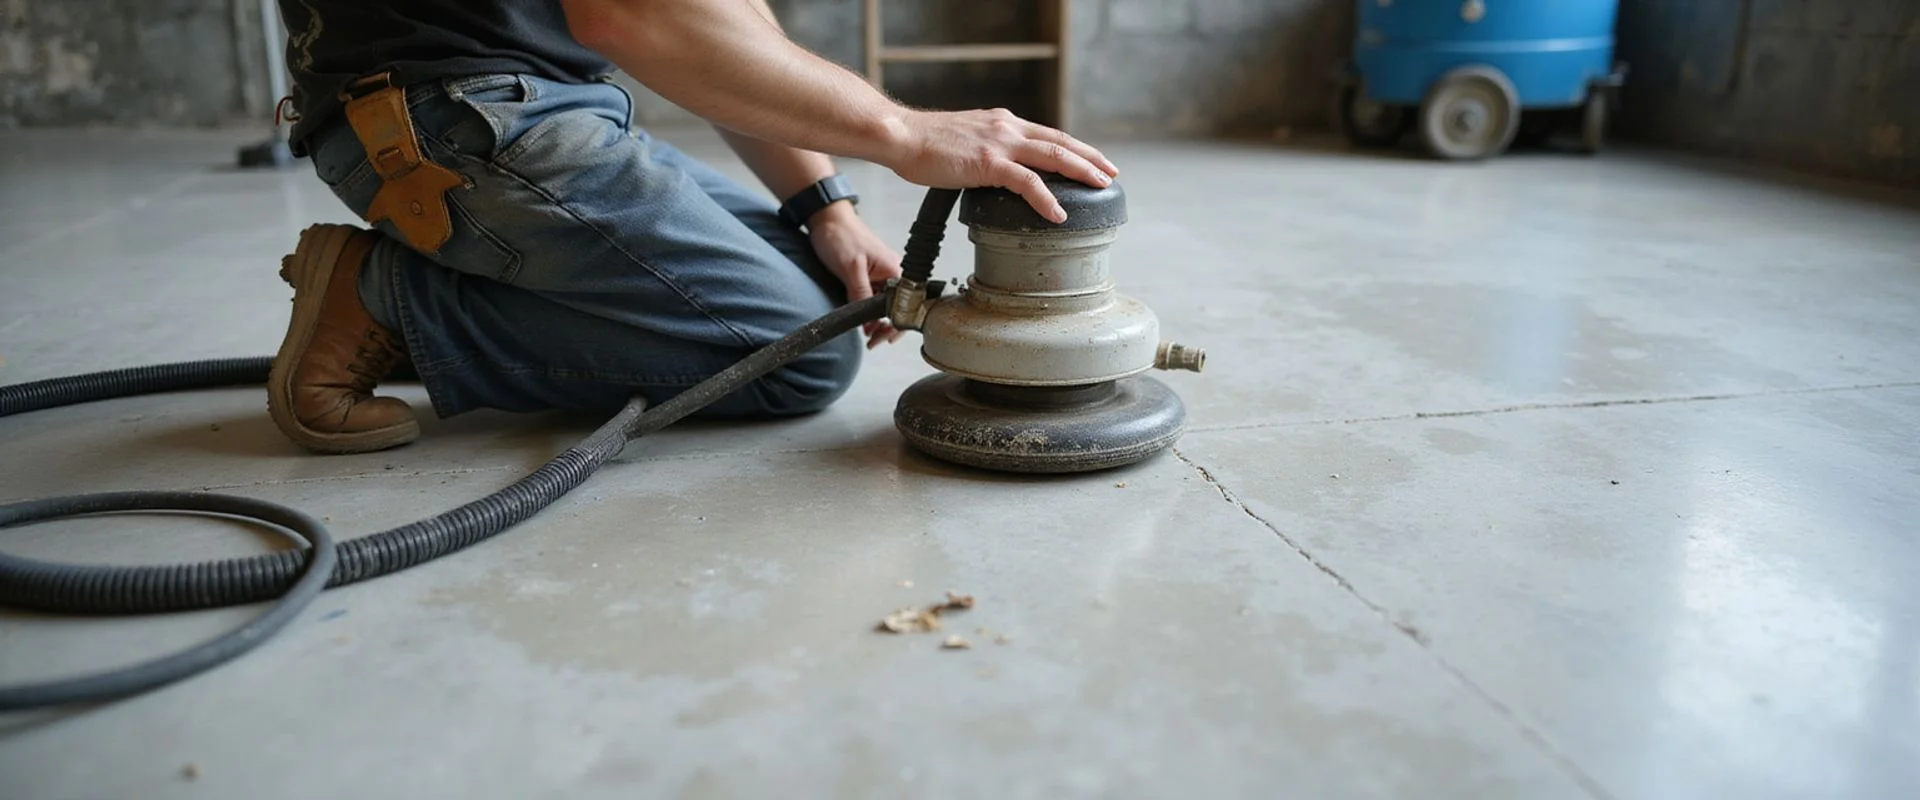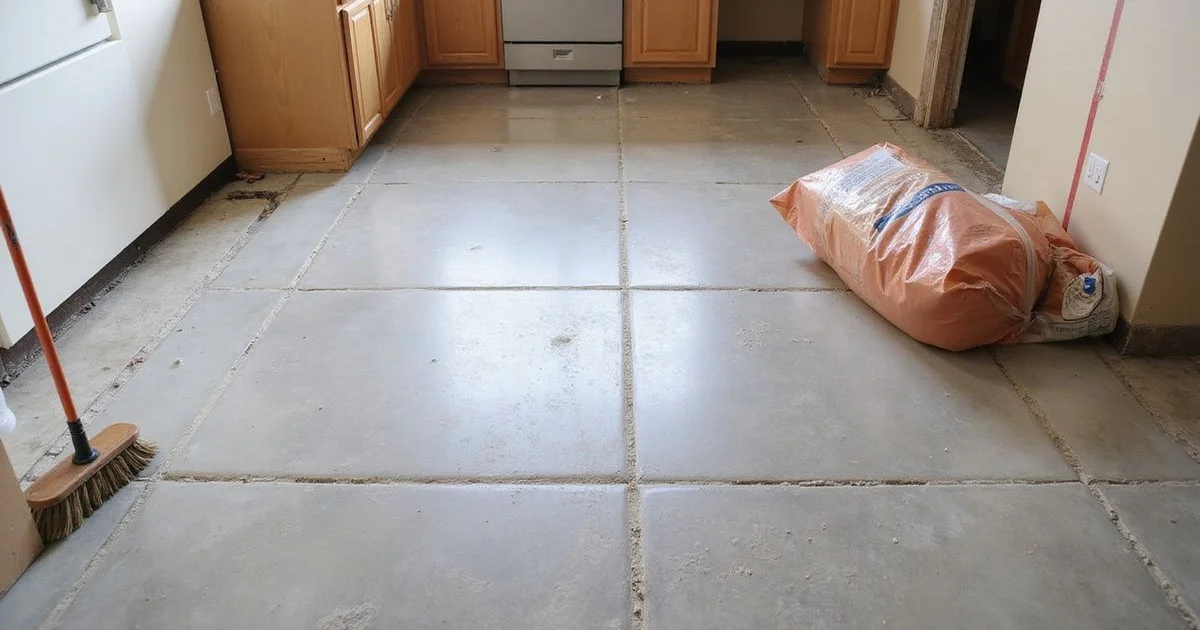
Tile comes up, the dumpster leaves, and the homeowner stands in an empty room looking at a slab nobody has seen since the house was built. That is the moment most of our residential remodel conversations actually start, and it is the moment where expectations get set — correctly or badly — for the whole project.
This walkthrough follows the sequence we use on that kind of job, and it is the same assessment behind every set of polished concrete floors in Austin we take on. It describes the process and the decisions, not a specific customer’s home; the images here are illustrative. Documented project photography goes in the project library as jobs are recorded with permission.
Day one: what the slab tells you before anyone grinds
The first visit is diagnostic, not promotional. We are looking for a handful of things that decide whether polishing is realistic:
- Surface hardness. Soft, dusty concrete polishes differently from a hard, well-finished slab, and it affects tooling choice from the first pass.
- Aggregate depth. How far down the stone sits determines whether cream, salt-and-pepper, or exposed aggregate is achievable.
- Contamination. Thinset, mastic, carpet adhesive, and old sealers all have to come off, and some leave staining that grinding reduces rather than removes.
- Cracks and movement. Central Texas clay moves slabs. We note crack width, whether edges are level with each other, and whether anything looks recently active.
- Repairs and trenches. Plumbing and electrical work leaves patched channels poured in a different mix, and those will read differently forever.
On a typical 1990s Austin slab under tile, we expect a ridge pattern of thinset, a perimeter of tack holes if carpet was ever laid, and at least one patched line. None of that is disqualifying. All of it is worth saying out loud on day one.
Removing adhesive without wrecking the slab
Adhesive removal is its own job before polishing begins. Metal-bond diamond tooling takes thinset and mastic off mechanically, which is slower than chemical stripping but leaves a sound surface to work with instead of a slab full of solvent residue.
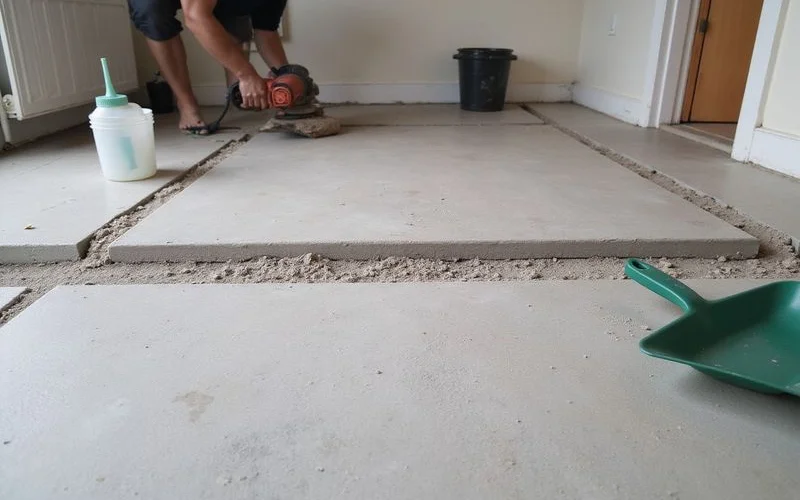
The important detail here is depth control. Cutting deep enough to erase every trace of adhesive may take you past the aggregate exposure the homeowner actually agreed to. On a cream finish that matters enormously — the whole point of cream is a shallow cut, and a heavy adhesive removal pass can push the floor into salt-and-pepper whether anybody wanted it or not.
So the honest sequence is: grind a test area, look at what the adhesive leaves behind at the agreed depth, and make the exposure decision with that information in hand.
The single most useful thing you can do
Ask for a ground test patch before signing anything. Two square feet of your own concrete tells you more about the finished floor than an hour of photographs.
Cracks, tack holes, and trench lines
Repairs happen before any polishing passes. Cracks are opened out, cleaned, and filled with a material chosen for the crack’s behaviour — a rigid filler for a static crack, a semi-rigid polyurea where a joint needs to carry load. Tack holes around the perimeter are filled individually. Trench lines get assessed on their own merits, because a patch poured five years ago with a different mix is not going to match.
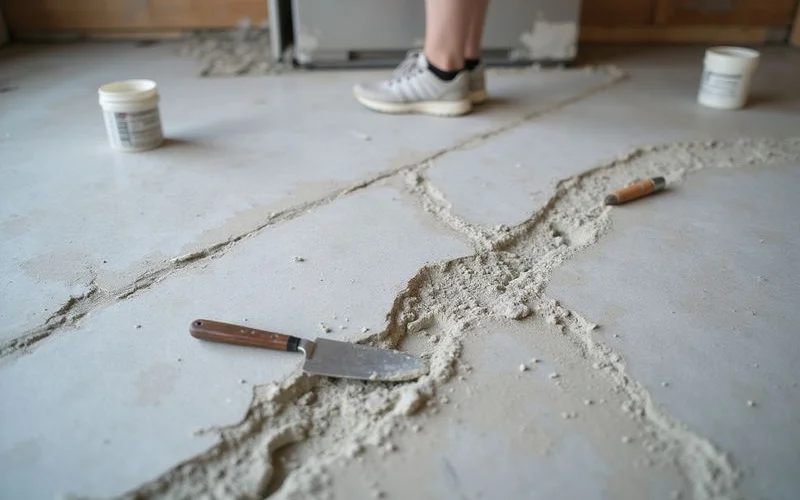
Here is the part that has to be said plainly: repairs stay visible. A filled crack reads as a filled crack. A patched trench reads as a patched trench. Polishing refines the surface, it does not homogenise the slab’s history. On many remodels that character is exactly what people want. On some it is not, and that is when a polishable overlay becomes the better recommendation.
Setting the finish expectation
By the time the floor is prepped, the conversation has enough information to be useful. Exposure and sheen get chosen together, against the test area, under the room’s own light:
| Decision | What it controls | Remodel consideration |
|---|---|---|
| Aggregate exposure | How much stone shows | Salt-and-pepper hides minor variation better than cream |
| Sheen level | How reflective the floor reads | Higher gloss shows footprints and dust more clearly |
| Colour | Dye or stain, if any | Can even out tonal variation across an older slab |
| Protective treatment | Resistance to spills | Reduces staining; does not make concrete stain-proof |
For the specifics on each of these, our finishes guide covers exposure and sheen in detail, and the aggregate exposure guide explains how grinding depth relates to what you end up seeing.
Grinding, densifying, polishing
Production work follows the specification: cut to exposure with metal-bond diamonds, densify with a penetrating silicate so the surface hardens, then refine through progressive resin-bond diamonds to the agreed sheen. Dust extraction runs on the grinders throughout, and the work zone stays contained, which matters when the family is living in the other half of the house.
Room sequencing is worth planning. On most remodels we can keep part of the home usable by working area by area, but transitions, doorways, and drying times need to line up with the rest of the renovation schedule.
What we would tell a homeowner starting this tomorrow
Three things, in order of how often they save a project:
- Get the slab looked at before you commit to a finish. The floor under your tile is not a blank surface, and the only honest way to know what it will become is to grind a piece of it.
- Decide exposure and sheen separately. They are different choices, and conflating them is the fastest route to a floor that does not look like the one in your head.
- Accept the slab’s history, or overlay it. Both are valid. What does not work is expecting polishing to erase decades of repairs.
If you are in the middle of a remodel and staring at a bare slab right now, send photos and the approximate floor area. An estimator will tell you what is realistic within 24 business hours.
Uncovered a slab in your remodel? — See how we handle residential polished concrete
Residential Polished Concrete
Polished concrete for homes — remodels and custom builds, with livable finishes and sample-based expectations.
Read the service page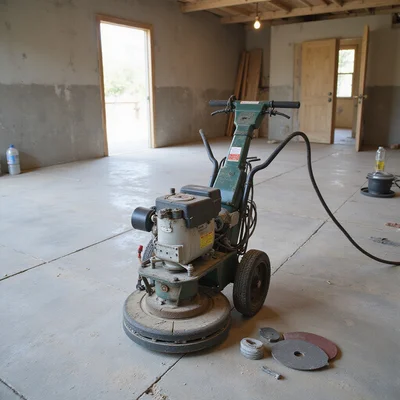
Austin Polished Concrete Floors Editorial Team
Editorial Team
Content prepared in the voice of the Austin Polished Concrete Floors Editorial Team. Established in Austin in 2001, the company polishes concrete for homes and commercial properties across Austin and surrounding Central Texas communities, with installers and estimators contributing recurring questions and field experience.
Polishing concrete in Austin since 2001